1. Click SETTINGS at the top of the Form Builder.
2. Next, click EMAILS on the left nav.
3. Click the PLUS + icon.
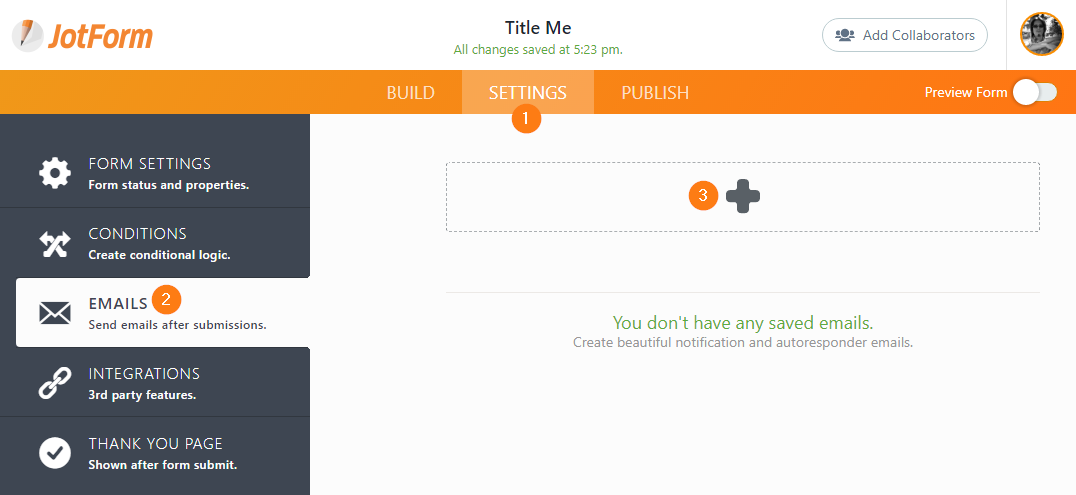
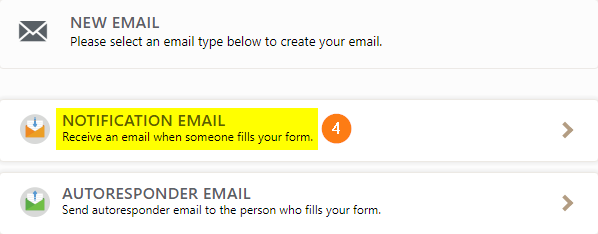
4. Then, select NOTIFICATION EMAIL.
Each section is separated by tabs:
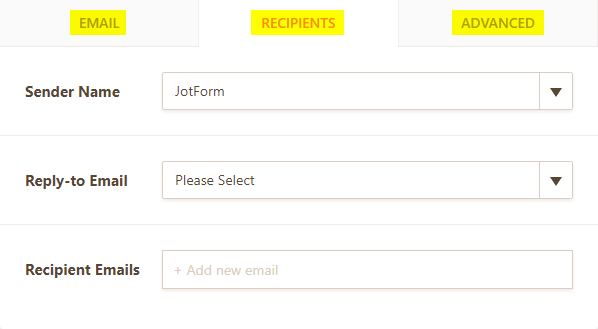
(Left) EMAIL tab: This is where you can make changes the email template and subject header.
(Middle) RECIPIENTS tab: Here you can define the recipient email address(es) for where you want to receive an emailed notification about a new submission from your form. You can also set the Sender Name and Reply-To Email.
(Right) ADVANCED tab: In the advanced tab you can change here the Sender Email Address and other email settings.
In some instances, you may also choose to implement your own custom email as the Sender E-mail Address. If that's the case, you can refer to this guide on How to Add a Custom Sender Address to an Email Alert.
Additionally, if you're having issues with your emails not being received, we recommend you check out this guide on How to Prevent Email Bouncing Related Issues.
NOTE: If you're looking for a way to setup a text only email, this is not possible anymore. The new wizard will allow you to only change the HTML email, text only emails are actually no longer used as mobile devices are becoming more common and all can open HTML-based emails without issues.