A common problem is that you may have tried to change your Email Notifications to have them sent to a different email address, but when you test it you find out that it has only gone to your old email.
Here is a simple guide to help educate you on how to do this properly and fix it.
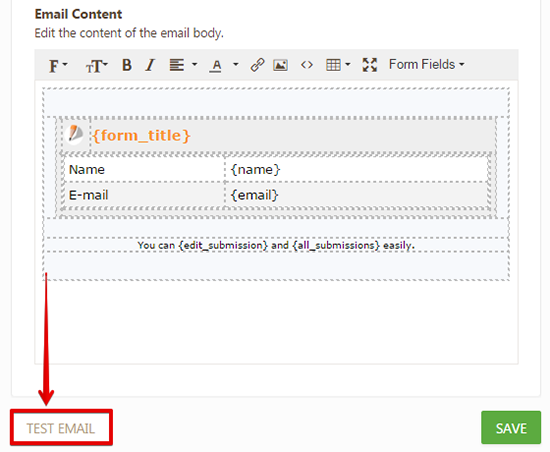
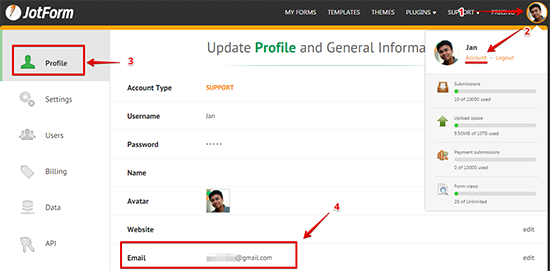
The above-mentioned problem mainly happens because you are using the "Test Email" button, which by default is configured to send the email to the email address that is associated with your account and found under your Account > Profile.
So why does this happen when using the Test Email button you ask?
When you first create a JotForm account you are entering in your Email Address.
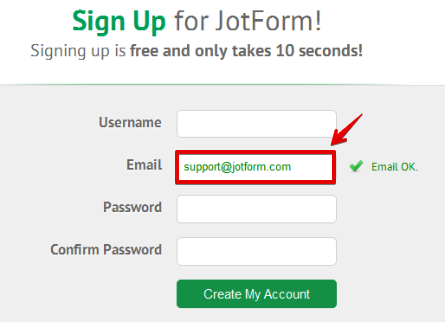
That email address you signed up with is what is used for your JotForm Account Profile. This is the same email address that is always pre-populated into any new form that you create here.
To change and test your email recipient address properly is actually a very simple process. Please see the following instructions below:
1. In My Forms, select the form and then click the "Edit Form" button.
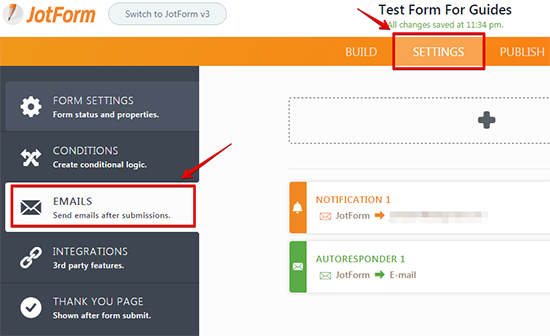
2. In the Form Builder, go to the "Emails" section.
Click the "Settings" button in the top menu. After that, go to the "Emails" section.
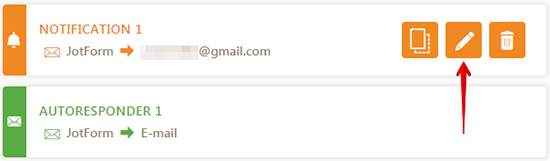
3. Hover the notification and then click the "Edit" icon.
4. Navigate to the "Recipients" tab, you'll see the "Recipient Emails" there. You can edit, delete or add a new one there.
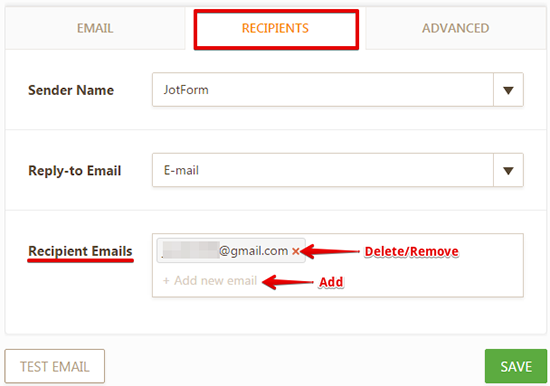
5. Click the "Save" button in the main form builder to save all the changes made.
6. Finally, all you have to do is preview your form, fill it out, and click the submit button. You should now notice your notifications arriving at the new email address you have specified.