Positioning fields on your forms is one of the most frequently asked questions. There are different ways to adjust field positioning on your form.
- Drag & Drop
- Shrink
- Expand
- Go to new line
- Merge to the line above
- Manage multiple fields at the same time
Drag & Drop Your Fields
This is the easiest way to add fields and arrange them. All you do is click on the field and while holding the mouse button down - drag to a new location.
Follow the same easy steps to grab the field from the left Tools menu to move the field around your form. Click -> hold -> drag and drop.
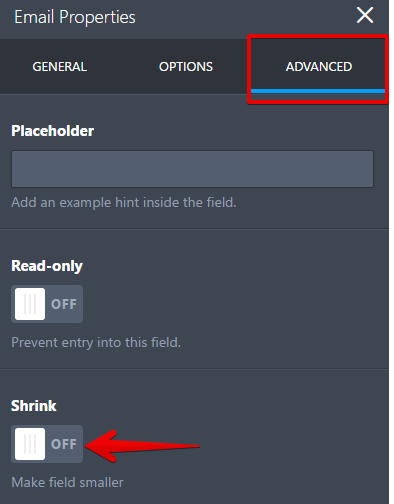
Utilizing the Power of Shrink
Shrinking fields is used when you want to place several fields on the same line. To shrink a field, open the field properties, go to Advanced tab then toggle Shrink.
Shrinking a field will reduce it to the minimum width needed. When you shrink multiple fields next to each other, they will appear on as few lines as necessary.
The Great Expand
Expanding a field back to full width is just as easy. Simply turn off the Shrink option you just did above.
When it’s Time to Move - Move to a new line
If you Shrink 10 consecutive fields, all of them will display on as few lines as possible. Sometimes this is what you want, but more frequently users might want to display two fields per line.
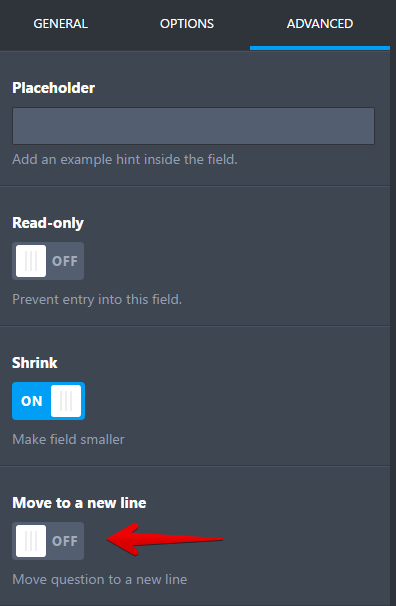
In that case on every 3rd line set it to be on a new line. You can access it the same way as the others- by going to the field properties, Advanced tab then toggle "Move to a new line"
Merging the Lines Together
Let’s say after looking at the fields displayed 2 per line, you realize you would prefer them to be 4 per line. In this case, you can merge the lines together by turning off the "Move to a new line" option you just did above.
It will break the new line and will make it act as just another shrunk field.
Multi-tasking and a Time Saver
Do you want to take form's easy to use Form Builder to the next level? Then this is the option for you!
The options to duplicate, remove, require and un-require save time and let you adjust multiple fields in one step.
Positioning with the Form Designer
The Form Designer is great for many reasons:
Allows designers and coders to quickly create the designs they want
Those that do not know code (HTML, CSS, etc) can also build beautiful designs
Anyone will be able to use it and get the design they like with just a few simple mouse clicks.
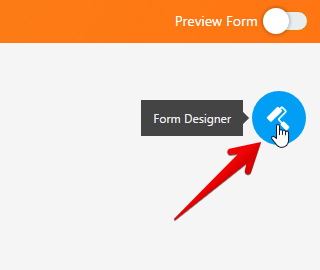
To use it just open your form and click the Form Designer icon located in the top right corner of the page.
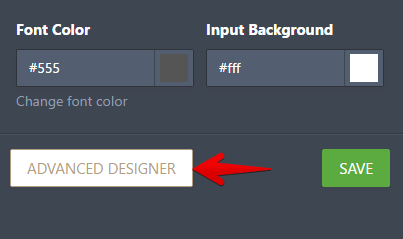
Go to Advanced Designer afterward
The first set of options to adjust positioning are under Line Layout.

Line spacing - Increase or decrease the space between two rows of fields. Using line spacing is helpful since it maintains the spacing for the error view as well. That is, when the user enters data when they submit the form and it’s returned as an error and the field is highlighted. Such as when they forget a required field. It is also great for global field positioning.
Vertical padding - Increases the space similar to the above option, but this option makes the size of the field larger both above and below.
Horizontal padding - It will increase or decrease the amount of space between the fields and also their horizontal outer border.