PowerPoint
Add audio to a single slide
- In Normal view, select the slide you want and click Insert > Audio.
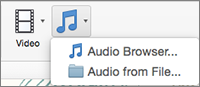
- Click Audio Browser to insert audio from iTunes, or Audio from File to insert an audio clip from your computer.
- Select the audio clip. On the Audio Format tab, select the audio options you want.
- (Optional) If you want to change or modify the standard audio file icon, use the picture format buttons on the Audio Format tab to add a frame, border, or other formatting effects to the audio icon.
Preview the audio
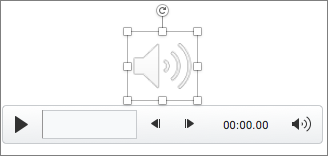
- On the slide, select the audio icon, and then click Play/Pause beneath the audio icon.
Play audio automatically when a slide appears
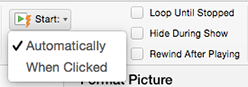
By default, during a slide show, audio plays when it is clicked. You can change it so that the audio plays automatically as soon as its slide appears.
- In Normal view, select the slide you want and add an audio clip if you haven't already done so.
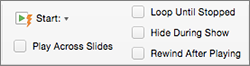
- On the Audio Format tab, on the right, click Start > Automatically.
Add audio that plays during your entire presentation
- In Normal view, select the first slide in your presentation and add an audio clip if you haven't already done so.
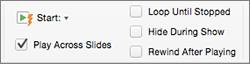
- On the Audio Format tab, on the right, click Play across Slides.
Add audio that plays repeatedly
- In Normal view, select the slide you want and add an audio clip if you haven't already done so.
- On the Audio Format tab, on the right, click Loop Until Stopped.
(Used alone, this option means the looping sound lasts while the slide it resides on is being shown. When Loop Until Stopped is used in tandem with Play Across Slides, the looping sound continues throughout the presentation.)
Hide the Audio icon
- Click the audio clip icon.

- On the PowerPoint ribbon, on the Playback tab, select the Hide During Show checkbox.
Use this option only if you set the audio clip to play automatically. Note that the audio icon is always visible unless you drag it off the slide.
Record audio
- Select Insert > Audio.
- Select Record Audio.
- Type in a name for your audio file, select Record, and then speak.
Note: Your device must have a microphone enabled in order to record audio. - To review your recording, select Stop and then select Play.
- Select Record to re-record your clip, or select OK if you're satisfied.
- To move your clip, select and drag the audio icon to where you want it on the slide.
If you’re using more than one audio file per slide, we recommend putting the audio icon in the same spot on a slide to find it easily. - Select Play.
Keynote
You can add an audio recording to an individual slide or record a voiceover narration for your entire presentation. A voiceover narration is a synchronized recording of yourself talking about each slide, which is especially useful when your presentation plays unattended in a kiosk setting.
Add Existing Audio
When you add video or audio file to a slide, the video or audio plays only when that slide is showing in your presentation.
Do one of the following:
- Drag a media file from your computer to a media placeholder or to anywhere else on the slide.
- Click
 in the toolbar, click Music or Movies, then drag a file to a media placeholder or to anywhere else on the slide. To search for media, click the magnifying glass in the upper-right corner of the media window.
Replace Audio in your Presentation
- Click to select the video or audio on the slide.
- In the Format
 sidebar, click the Movie or Audio tab.
 - Click Replace.
- Select a video or audio file, then click Open.
Add an Audio Description
You can add a description to audio in your presentation. Audio descriptions are read by assistive technology when someone uses that technology to access your presentation. Audio descriptions aren’t visible anywhere in your presentation.
- Click the audio to select it, then, in the Format sidebar, click the Audio tab.
- Click the Description text box, then enter your text.
If you export your presentation as a PDF, audio descriptions are still readable by assistive technology. See Export to PowerPoint or another file format in Keynote on Mac.
To add descriptions to an image or video, see Add an image description or Add a video description.
Record Audio
- Click in the toolbar, then choose Record Audio.
*Note:*After you record, you insert the recording wherever you want in the presentation. - To begin recording, click
 ; to stop recording, click
  .
.
To rerecord from a specific point, position your pointer over the recording, swipe left or right to position the black line (or drag the scroll bar), then click.
While you record, you can continue editing your presentation. - To preview your recording, click Preview.
To play from a specific point, position your pointer over the recording, swipe left or right to position the black line (or drag the scroll bar), then click Preview. - To edit your recording, click Edit, then do any of the following:
Rerecord a section: Drag the blue handles to select the section. Click to record over that section.
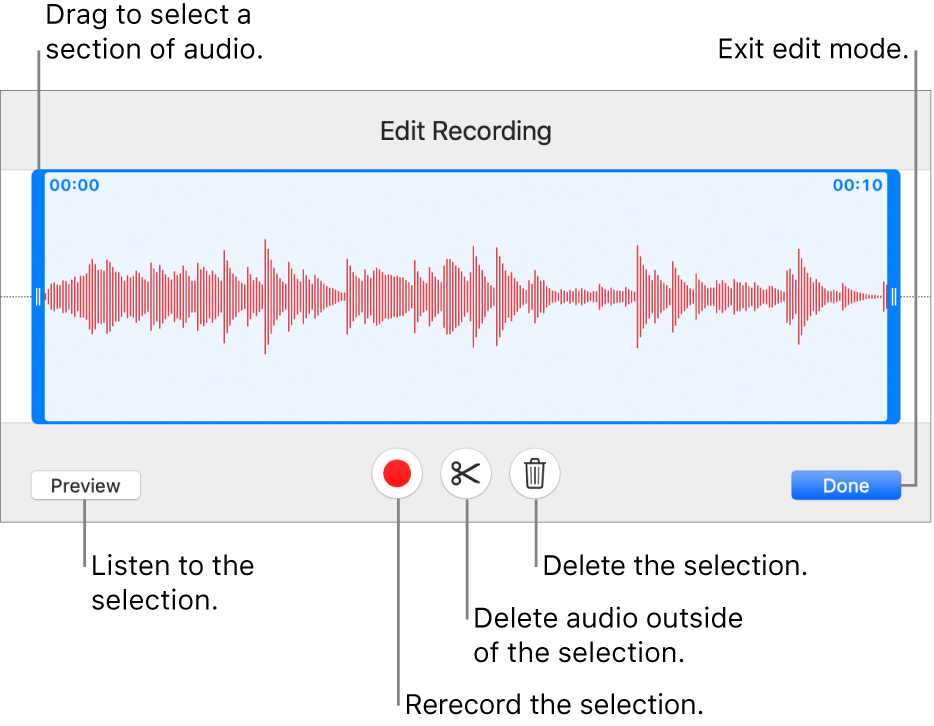
Trim: Drag the blue handles to define the section you want to keep. Click  to delete everything outside of the handles.
Delete all or part of the recording: Drag the blue handles to define the section you want to delete. Click  to delete everything inside the handles.
Record A Voice Over Narration
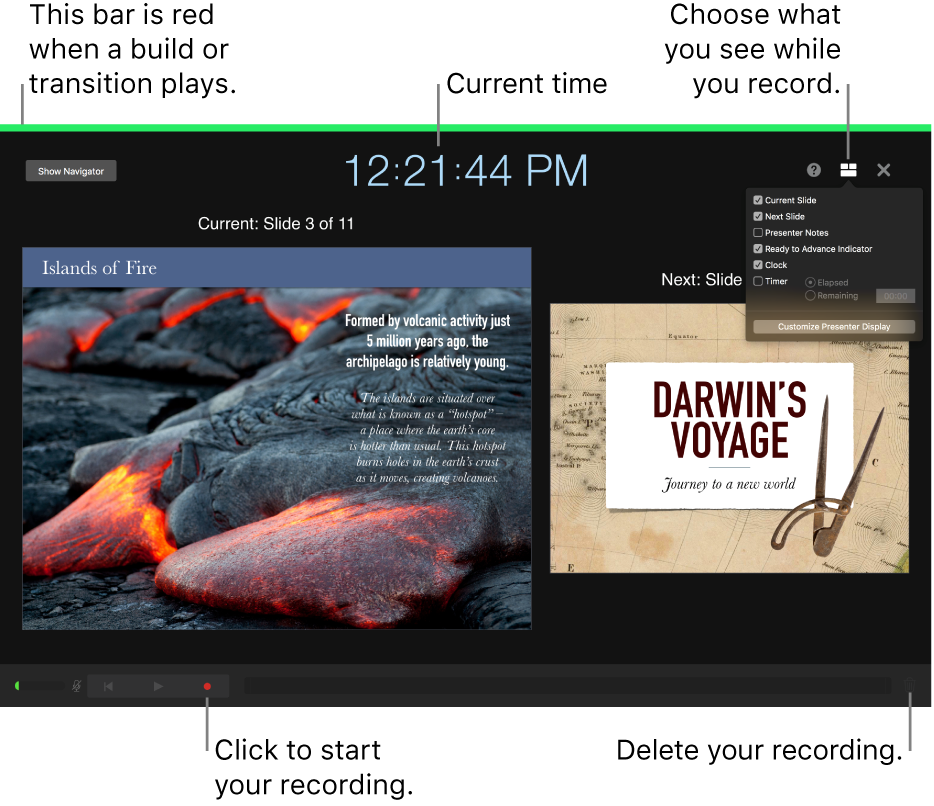
To record a voiceover narration, you advance through the presentation at your natural speed as you talk. As you advance through each slide or build, your voice and timing are recorded and preserved for playback.
- Click to select the slide where you want the recording to start.
- Click
 in the toolbar, then click the Audio tab at the top of the sidebar on the right.
 - Click Record in the sidebar.
The recording window appears. - To start recording your presentation, click
 at the bottom of the window.
The timer counts down from 3 before recording begins. - Speak clearly into the microphone to begin your narration.
- To advance to the next slide, click the slide in the recording window, or press the Right Arrow key on your keyboard.
You can pause the recording at any time by clicking the Pause button. Click to resume recording. - To stop recording, click .
- Press Esc (Escape) to save the recording and exit the presentation.
To listen to your narration, play your slides.
Add a Soundtrack
A soundtrack begins playing when the presentation starts. If there are slides that already have video or audio, the soundtrack also plays on those slides.
A file added as a soundtrack always plays from its beginning.
- Click in the toolbar, then click the Audio tab at the top of the sidebar on the right.
- Click
 , then select one or more songs or playlists to add to the soundtrack.
To reorder the songs or playlists, drag them above or below another in the list. To delete one, select it, then press Return or Delete. - Click the soundtrack pop-up menu, then choose an option:
- *Off:*The soundtrack doesn’t play.
- *Play Once:*The soundtrack plays through the presentation and doesn’t repeat if the presentation is longer than the soundtrack.
- *Loop:*The soundtrack repeats until the presentation ends.
If you want to play your presentation on a different computer or device from the one you used to create the presentation, choose Keynote > Preferences (from the Keynote menu at the top of your screen), click General at the top of the preferences window, then select “Copy audio and movies into document.” Doing so ensures the soundtrack is available whenever you play the presentation.
Some media files are protected under copyright law. Some downloaded media may be played only on the device where the download occurred. DRM (digital rights management) protected music can’t be added to the presentation soundtrack. Make sure the computer you’re using has permission to play all the media files included in your presentation.
Google Slides
Google Slides do not support audio files but you do have the option to embed videos inside the individual slides. The workaround, therefore, is simple – place the video file on a slide, make it invisible and turn on the auto-play mode.
- You can use free tools like FFmpeg or Audacity to convert your audio files into video. Then upload the converted file to either Google Drive or YouTube. Google Drive is better since the playback won’t include any pre-roll advertising.
- Open Google Slides, go to the Insert menu and choose Video. Here you can either select the file from your Google Drive or switch to the “By URL” tab and paste the link of any public YouTube video.
- Now that your video is embedded in Google Slides, right-click the video and choose Video Options. Check the setting that says “auto-play when presenting.” If you are using synchronized voiceover narration, you may want to change the start and end time of the video as well.
- Since you want the audio to play in the background, it may be a good idea to completely hide the video play from the slide. There are two ways to achieve this. You can select the video play, drag the resize handles inwards so that the player size becomes too small to be noticed. An even better option is to place the video player outside the slide area so it’s still part of the slide but won’t show during the presentation.