Create Filter
- Open Gmail.
- In the search box at the top, click the Down arrow
.
- Enter your search criteria. If you want to check that your search worked correctly, see what emails show up by clicking Search.
- At the bottom of the search window, click Create filter.
- Choose what you’d like the filter to do.
- Click Create filter.
Note: When you create a filter to forward messages, only new messages will be affected. Additionally, when someone replies to a message you've filtered, the reply will only be filtered if it meets the same search criteria.
Edit or Delete Filters
- Open Gmail.
- At the top right, click Settings
See all settings.
- Click Filters and Blocked Addresses.
- Find the filter you'd like to change.
- Click Edit or Delete to remove the filter. If you’re editing the filter, click Continue when you’re done editing.
- Click Update filter or OK.

An alternate method to create a filter
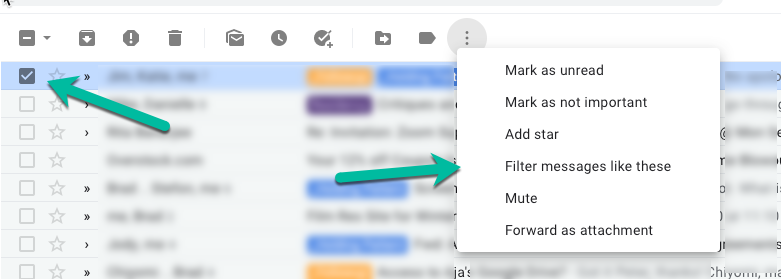
Click on the message you would like to create a filter for and then click on the three horizontal dots. In the drop-down menu click on 'Filter messages like these.'
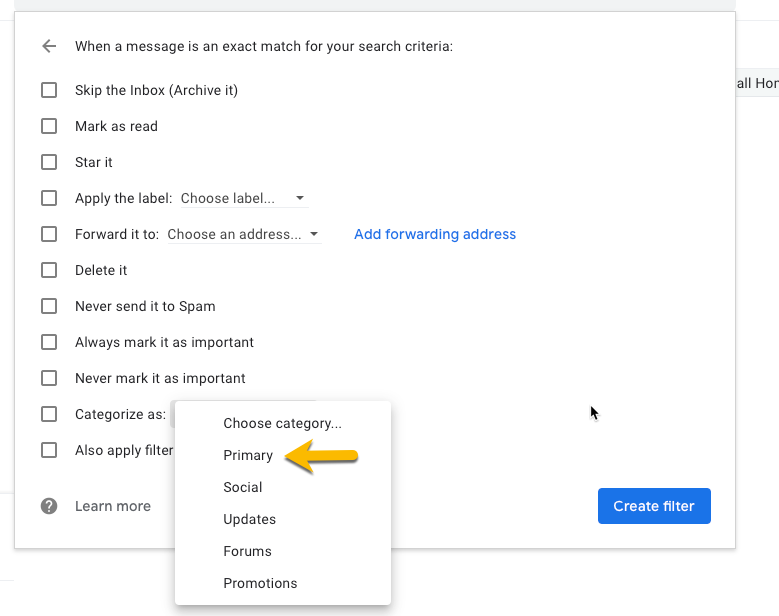
Enter the criteria you want to apply to the filter (in this example we are only using the person's email address). Once you have finished entering your criteria click the blue 'Create Filter' button.

Next, decide what you want the filter to do when the messages land in your inbox. In this example, we are telling the filter to make sure the messages go to our primary label (or main inbox). When you are done click on the blue 'Create Filter' button.
Your filter should be all set.
If you have any issues please contact VCFA IT Department.