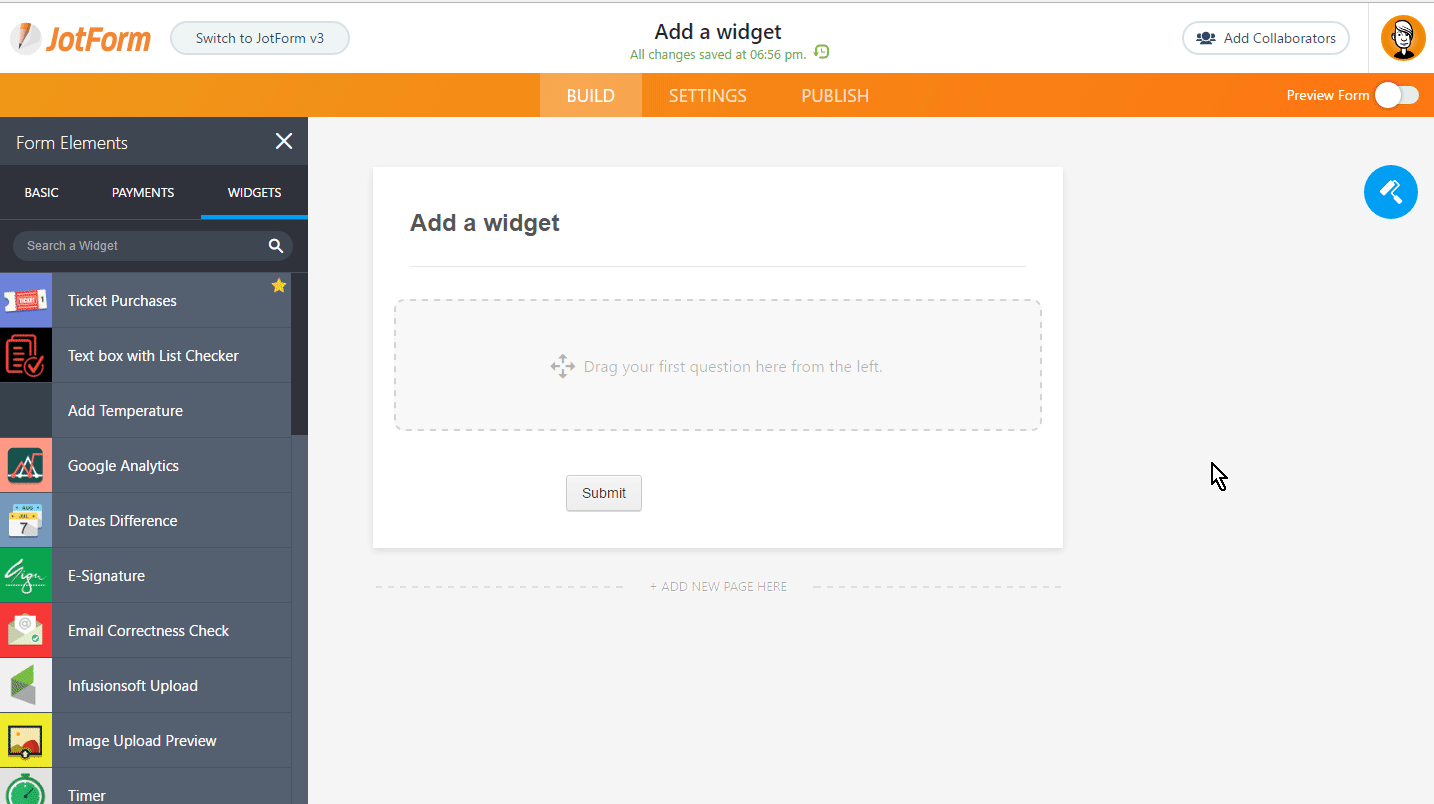
STEP 1: Navigate to BUILD and click the ADD FORM ELEMENT button.

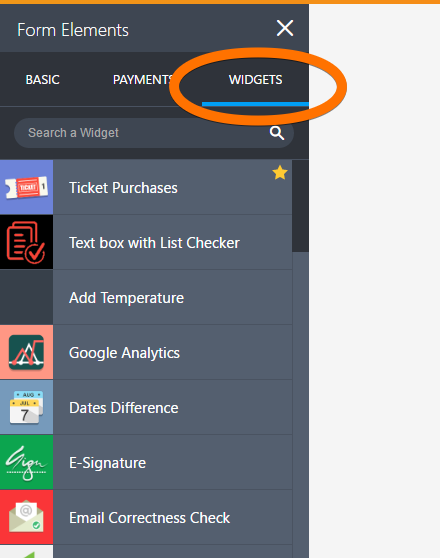
STEP 2: Go to the WIDGETS tab, then search for a specific widget.
STEP 3: To add a widget, either click it or drag and drop it to your form. As soon as the widget is placed on your form, you'll see the widget wizard on the right.
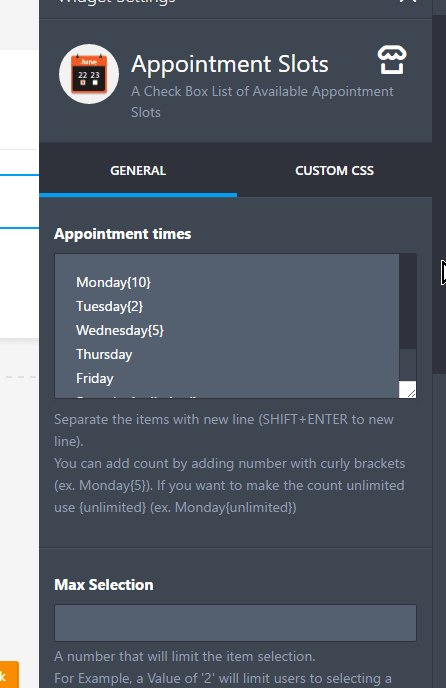
STEP 4: The widget settings vary depending on the widget itself. Here you can set up the options and features the widget offers. Once you're finished, click the green UPDATE WIDGET button.
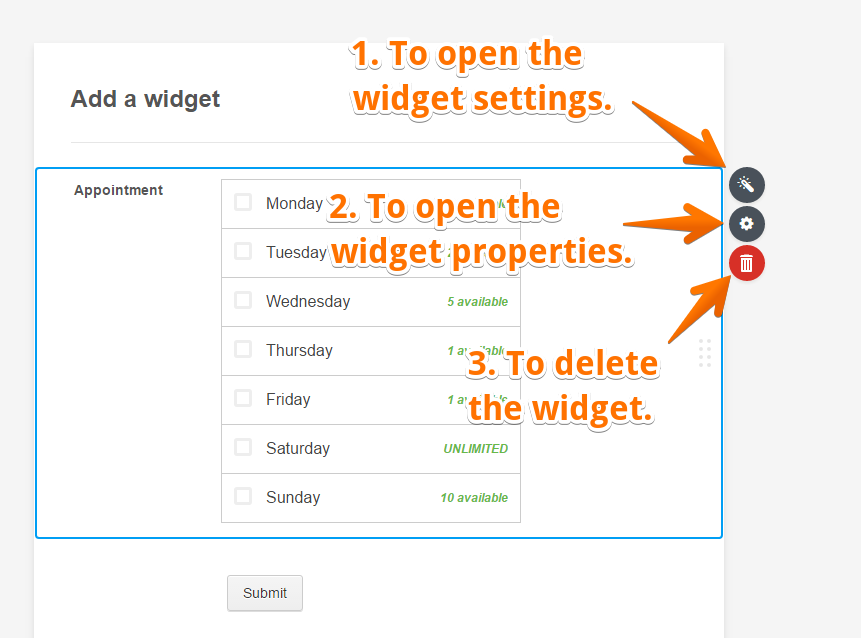
And that's it! The widget is now displayed on my form. You can see there are three icons if you select the widget:
WAND icon - This will open the widget wizard.
GEAR icon - This will open up the properties of that field.
TRASH icon - This will delete the widget on your form.
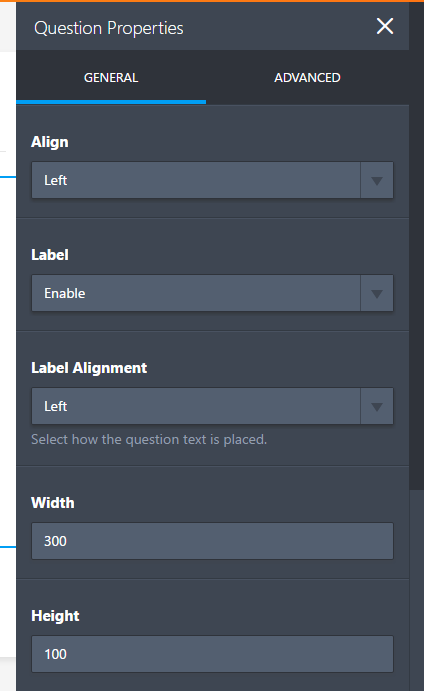
This is how the properties window would look like if you click the GEAR icon. It is more related to the field's position and other styles.
If you have any questions or issues please contact VCFA IT Department.